When we mention WMV, we usually mean those videos with the .wmv extension. WMV itself is a fairly complicated category. It is a big family with various video codecs, audio codecs, containers, and different names. But, we don’t have to worry, those have nothing to do with our topic today. What we are going to talk about is how to burn the videos with .wmv extension to DVD disc, and then you can play the DVD disc on a DVD player or a Blu-ray player (well, this is a more widely used device now than a pure DVD player) that connected to a TV. The ultimate goal is to watch any of your WMV videos, no matter where they come from, on the big-screen television through a DVD disc.
Step by Step – Burn WMV Videos to DVD on Windows and Mac
When I was in junior high school, the teacher once asked us to submit a video project by burning them to a DVD disc. It took me many hours fiddling with the computer before finally burned a disc. The program I found and used at that time had a difficult interface, I tried several times and nothing was burned. If what I tried was a simpler software, I guess it would save many hours.
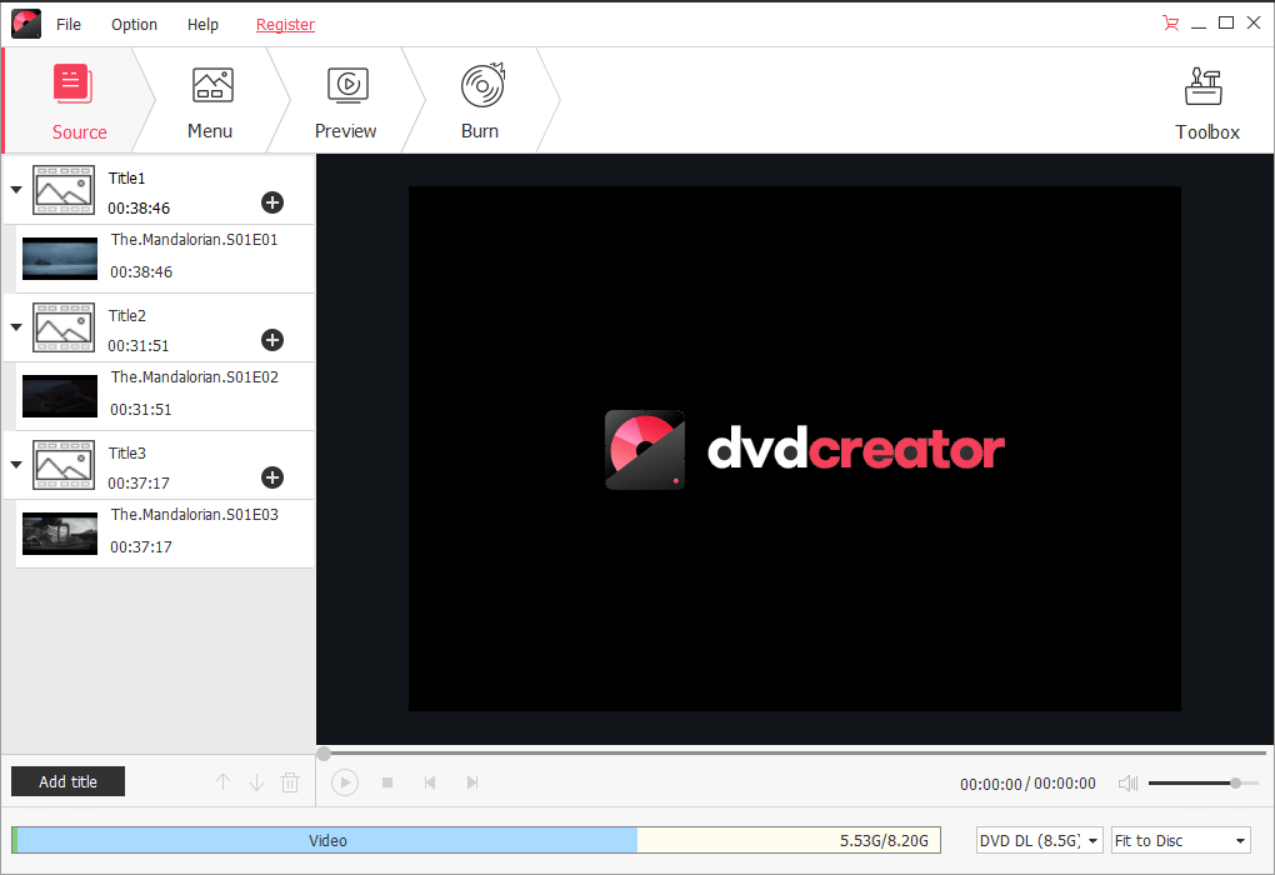
BlurayVid DVD Creator is highly recommended to burn WMV to DVD. It has a simple and modern UI design that is pleasing to my eyes. When you launch it, the interface and the toolkit will clearly show you what it can do. It lets you import WMV videos, simply edit the video project, and has many DVD menu templates. You can customize the menu and add chapters for your videos. To the last step, insert a DVD disc and one-click to burn WMV to DVD. It can also burn WMV to DVD folder or ISO image file.
Below is the tutorial about how to burn WMV to DVD with BlurayVid DVD Creator.
Step 1. Install BlurayVid DVD Creator
Download BlurayVid DVD Creator from below, and install it on your Windows or Mac.
Free Download Free Download
Step 2. Use “Create a DVD Video Disc”
Launch the program and tab the frame 1: Create a DVD Video Disc. If you want to burn WMV to a DVD data disc, then choose Data Disc. Video DVD is playable on any DVD player, but there are not many players that can play Data DVD with WMV video inside.

Step 3. Import WMV Videos to the Program
Add all the WMV videos you wish to burn. You can add, delete, adjust video order, and adjust the WMV video hierarchy at any time. If the source WMV video needs to be edited, click on the video and a clickable edit icon will appear. The most commonly used tools are clipping and adding a subtitle.

Step 4. Choose a DVD Menu Template
BlurayVid DVD Creator has rich DVD menu templates, and it allows you to personalize some elements based on the template. I know that a fair number of people don’t want a menu in their Video DVD disc. That’s very easy to apply in this program, you just need to select No Menu from the drop down.

Step 5. Preview and Burn WMV to DVD
Open your DVD drive, insert a recordable DVD disc, and then go to the Burn tab. Click the round black icon to the right of the “TV standard” drop-down box, and there will be a country list pop up. Select your country and the program will automatically display whether the TV standard should be NTSC or PAL. Nowadays, most TVs support both NTSC and PAL. The final step is to press the Burn button.

It’s burning WMV to DVD…

BlurayVid DVD Creator works well on Windows and Mac. You can download and take a try.
Free Download Free Download

