You probably have bought some blank Blu-rays in hopes of being able to burn high definition MKV files to the Blu-rays. The goal is to create a Video Blu-ray disc that can be played back on Blu-ray player, computer, Xbox, PS4, and so on.
Moreover, MKV movies that you have got from the movie download sites are usually encapsulating multiple subtitles and audios. It would be much better if we could burn all the subtitles/audios in the MKV file to Blu-ray disc and the selectivity of subtitle tracks are maintained. Here’s the suggested software tool that can simply burn MKV to Blu-ray with subtitles.
Burn Blu-ray with the Best MKV to Blu-ray Creator for Windows
The software “ConvertXtoHD” is the one to use. It is to burn videos to high definition formats includes Blu-ray and AVCHD. That’s to say, the MKV videos can be burned to a Blu-ray disc or an AVCHD disc, which can be played on a Blu-ray player instead of a DVD player.
Free Download
Why it is the best solution to burn MKV to Blu-ray?
• Burn MKV with selectable subtitle tracks and audio tracks to Blu-ray; Set a subtitle track as a forced subtitle; Soft code or hard code an MKV with subtitles.
• Choose the output Blu-ray disc resolution: Automatic (Based on input MKV video resolution), 1080P, 720P, 576P .etc.
• Custom the main menu of the Blu-ray disc; Design the interaction method; Custom all the elements on the Blu-ray menu.
• Custom the output format, encoding, video processing, hardware optimizations, menu options, chapters, subtitles, audios, burning, and watermark.
Next is the step-by-step guide on how to burn MKV to Blu-ray.
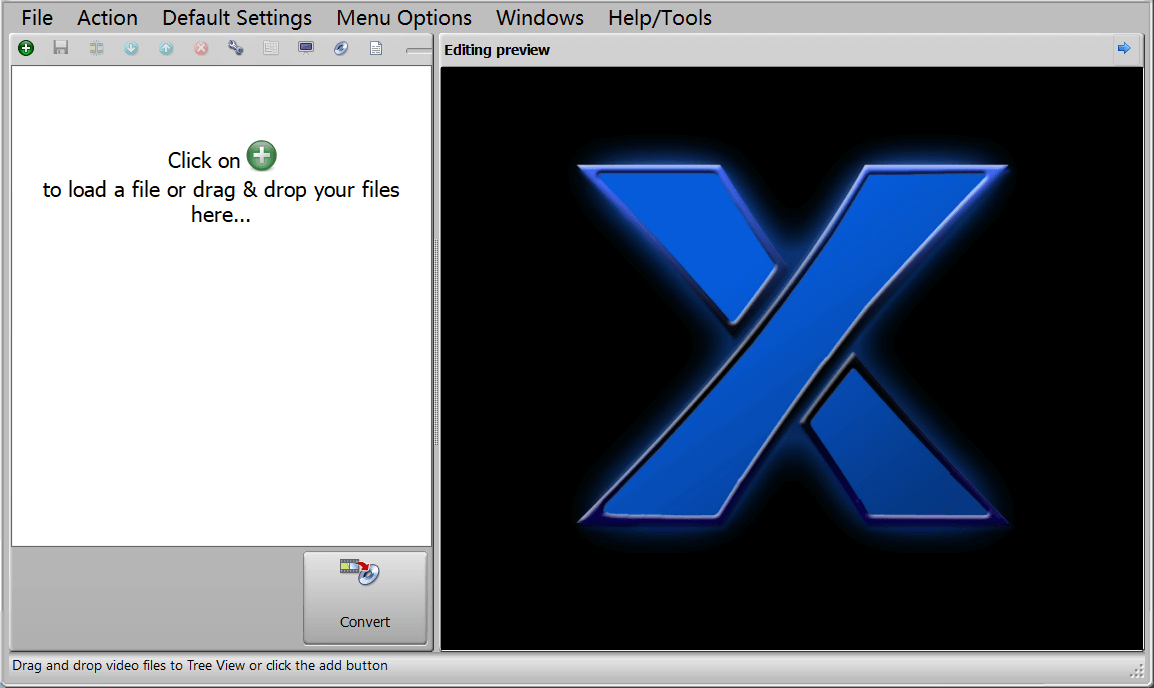
Step 1. Add MKV Videos to the Program
Click on + to load MKV files or drag & drop your MKV files to the interface.
Step 2. Edit the MKV Video
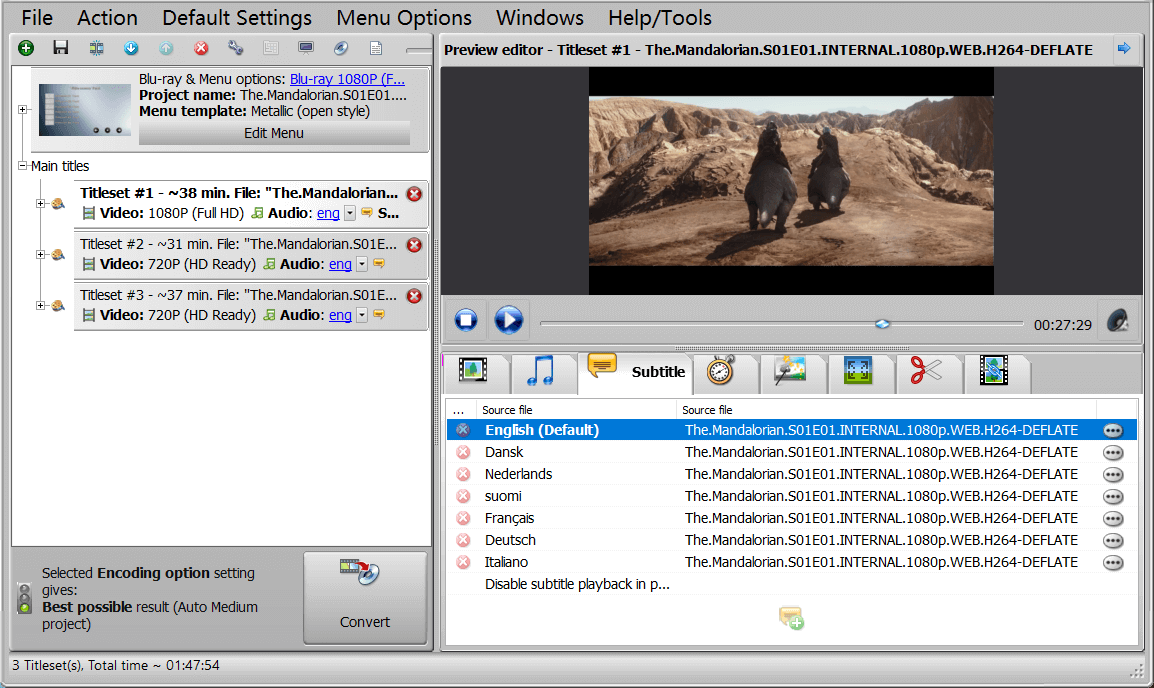
Click on the video and the video editing toolbar will show up. Here you can preview, clip, merge the video, edit the settings of audio, subtitle, chapters, image, and so on. By default, all subtitles in the MKV video are reserved as soft subtitles, one of which is a forced subtitle. If you want to change to hard subtitle/rename the subtitle/change the forced subtitle, go to the Subtitle tab and click “…” to edit advanced settings.
Step 3. Edit the Disc Menu before Burning MKV to Blu-ray
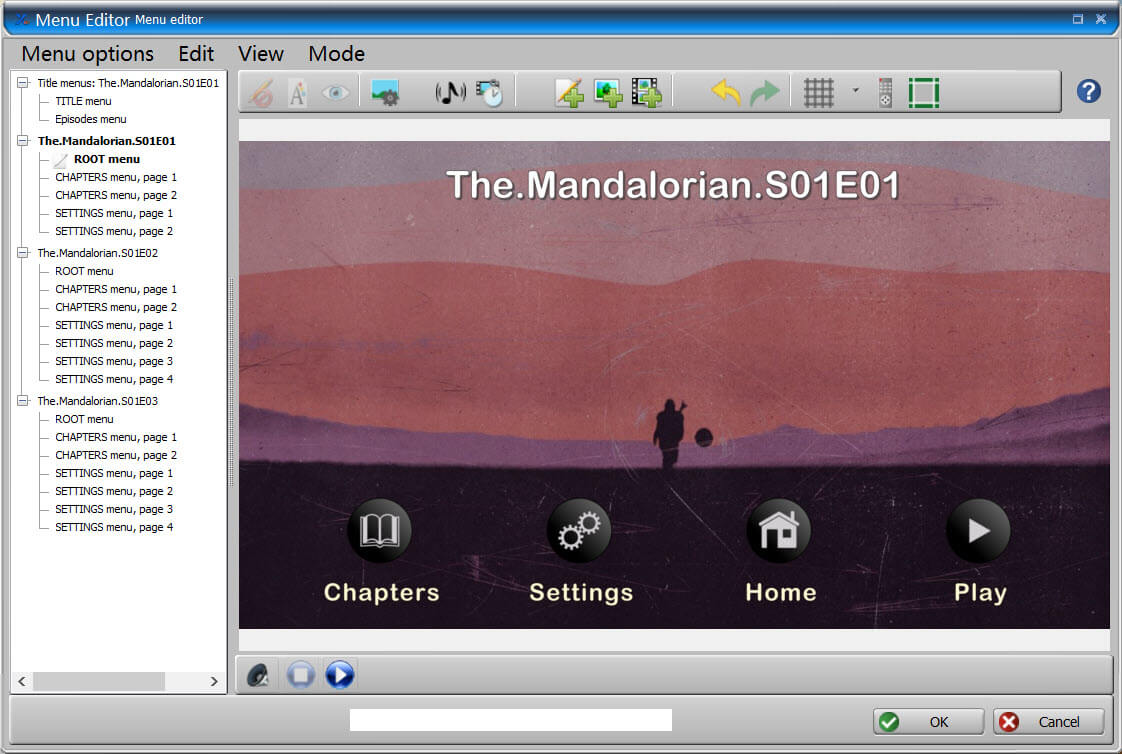
Click on “Edit Menu” on the main interface and this window will pop up. Create new Theme means to fully DIY a new Blu-ray menu, Use an existing theme means to select a template and do some advanced editing on this basis.
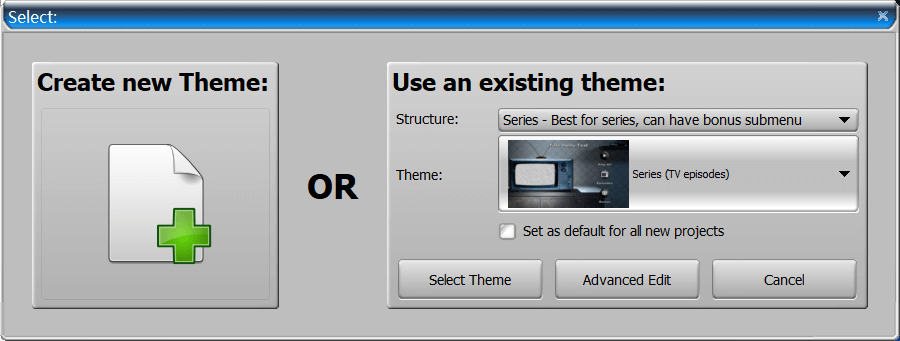
I have selected an existing Blu-ray menu theme. Press OK if you are satisfied with the result after editing.
Step 4. Start to Burn MKV to Blu-ray
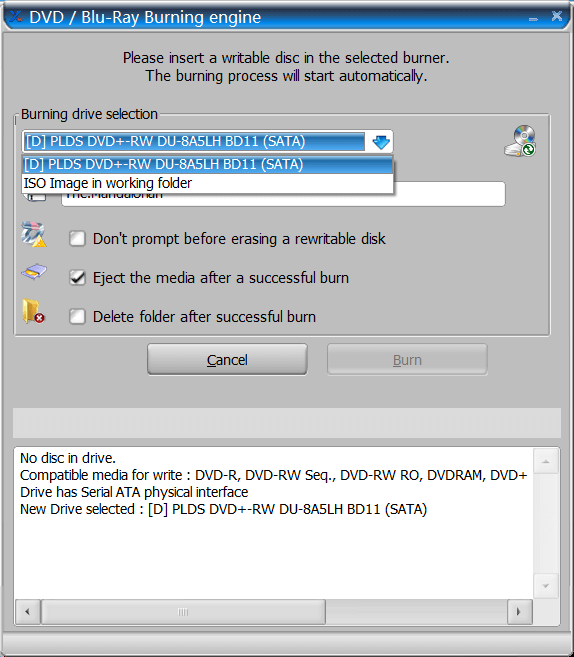
You can burn MKV to Blu-ray disc/Blu-ray ISO/Blu-ray folder. To burn MKV to Blu-ray disc, just insert a Blu-ray disc and the Burn button will be activated.
Alternative: BlurayVid DVD Creator is also an available option to burn MKV to Blu-ray disc. Its advantage is that it provides a large amount of beautiful Blu-ray menu templates and the operation is a bit more intuitive. But it can only burn MKV to Blu-ray with a hard code subtitle or no subtitle.

